While there are some key things to understand and consider while smoking a brisket, it’s really not all that difficult. A good trim, consistent temps on the smoker, wrapping on time, and pulling the meat from the heat at the correct temp and feel are all that truly matters. Here’s how I do it.
Trim it
This is the most important part in my opinion. You’re going to need to get some sections of the brisket trimmed because they’re either inedible fatty parts that won’t render, edges that have been treated at the slaughter house, or thin ends that will dry out. There are two parts to this hunk of meat and they need to cook in harmony so that the whole brisket ends up juicy and consistently tender.
The video below is the most comprehensive demonstration and explanation of how to trim a brisket. Performed by the one and only Aaron Franklin. I suggest you give it a watch to learn the basics before you cook your brisket.
If you don’t already have one, grab yourself a 6″ BONING KNIFE to do the trimmimg, it’s a perfect and inexpensive tool for the job. I use THIS ONE from Amazon. The shape and sharpness of this knife makes your trimming a breeze. I couldn’t find another knife in my kitchen that gets the job done quite like a boning knife.
Season it
This is pretty straight forward. Equal parts Kosher Salt and Restaurant Grind Black Pepper, mixed in a seasoning shaker. Apply evenly and generously and you’re done. Some folks do this the night before, some do it just before the smoker. It’s entirely up to you. Optionally, you can add a thin layer of Yellow Mustard or even Texas Pete/Red Hot before the seasoning. You won’t taste these sauces in the end but they will help build a thicker/richer, darker bark.
Smoke it
Choose your wood or pellets wisely (cherry and oak are my favorites for red meat) as it will affect the outcome of your flavors greatly. Get that fire rolling (you’ll know this when the coals are nice and hot and the smoke is a translucent blue). Keep the temp around 250º and be sure that smoke doesn’t get thick and white. Thick, white smoke will give the meat an acrid flavor that will have you ordering pizza after a long day on the smoker.
Account for about 45-60 minutes per pound for cook times.
I like to keep the lid shut for at least the first 2 hours. At that point, open it up and give it a spritz with a 50/50 mix of Apple Cider Vinegar and Apple Juice. Maintain your 250º fire temp and keep on cooking.
When the meat hits about 165º internally (this is usually around the 4 to 5 hour mark), pull it and wrap it. I suggest butcher paper but foil is ok too.
Butcher paper will allow the bark to continue to develop but keep the smoke out. You can pick up a roll at Amazon –>
~165º is the temperature where “the stall” usually happens. The stall is the part of the cooking process where evaporation occurs on the surface of the meat, preventing it from cooking and further. If you don’t wrap, the temp will sit at the same point for HOURS before it continues to cook. A tight wrap is key.
Once you’re wrapped, get that smoker temp up to about 275º-280º to finish the cook. If you’re tired of tending a fire at this point, you can put the brisket in the oven.
Check out the video below for an example on how to wrap your brisket.
Rest it
209º internal temperature is my sweet spot. Once the brisket hits this internal temp, pull it from the heat and rest it for an hour. How you do the rest portion of this process is entirely up to you. I let it sit for an hour, wrapped on my cutting board. Some folks put it into an empty cooler, some put it in a 150º oven.
An alternative option at this point would be to vacuum seal it with the juices and let it sit overnight. To re-heat, simply unpack the brisket when you’re ready, place on a metal tray, lay 6-8 pads of butter or spoon some tallow on top and place in the oven at 185º. Once the meat hits 130º internal, pull from the heat and allow it to rest for 30 mins. Slice and serve. This is honestly my favorite way to go. The brisket is much juicier… the juiciest I’ve ever had, and all of your cooking is the day before. The photo below is brisket that was vacuum sealed and re-heated the next day.
Slice it
A good slicing knife will help keep those slices consistent and in-tact as you carve your brisket. This high carbon steel deli knife is the perfect tool for the job. It’s made well, super sharp, dishwasher safe, and inexpensive. A must have for all of your meat slicing needs.
Not a super intricate process but important to know what you are doing when you slice this bad boy. Give this video a watch to understand the slicing procedure for your meat.
Serve it

The time has come to enjoy the fruits of your labor. At this point, you hopefully have a wonderfully flavored, super juicy brisket on your hands. Serve it up with your favorite sides and enjoy!
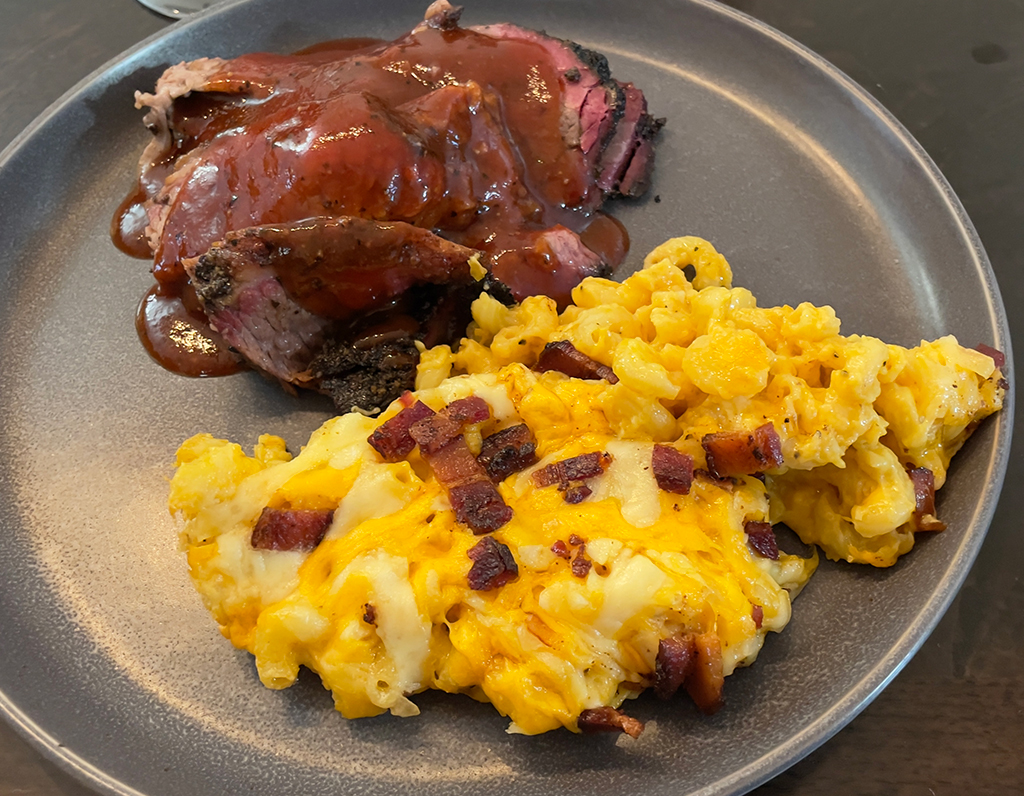
I love it with the Bourbon BBQ Sauce I develped and you can’t go wrong with Cast Iron Mac N’ Cheese!
